How to Clean an Air Fryer
Your air fryer works hard, and grease buildup is inevitable. Regular cleaning keeps it performing at its best, prevents smoke and off-flavors, and extends its lifespan. Here is exactly how to clean every part of your air fryer — whether it needs a quick wipe or a serious deep clean.
Why Regular Cleaning Matters
A dirty air fryer is not just unpleasant — it affects your food. Grease and food residue that build up over time will start to smoke at high temperatures, giving your food an acrid, burnt taste that has nothing to do with what you are actually cooking. Old grease can also become a fire hazard if it accumulates near the heating element.
Beyond flavor and safety, a clean air fryer simply works better. Airflow is the entire principle behind air frying — a powerful fan circulates hot air around your food to create that crispy exterior. When the basket, tray, or vents are coated in grease, that airflow is compromised. Your food takes longer to cook and does not crisp as evenly.
The good news is that cleaning an air fryer is straightforward. It does not require special products or hours of scrubbing. A quick clean after every use takes less than five minutes, and even a thorough deep clean can be done in under thirty minutes.
Quick Clean After Every Use
The single best thing you can do for your air fryer is clean it briefly after each use. This prevents grease from baking on and makes deep cleaning far less frequent.
Step 1: Unplug and cool down. Let the air fryer cool for at least 15 to 20 minutes after cooking. The basket and drawer will still be warm enough to make grease easier to remove, but not hot enough to burn you.
Step 2: Remove the basket and tray. Pull out the removable parts — the basket, the drip tray or drawer, and any racks or grates.
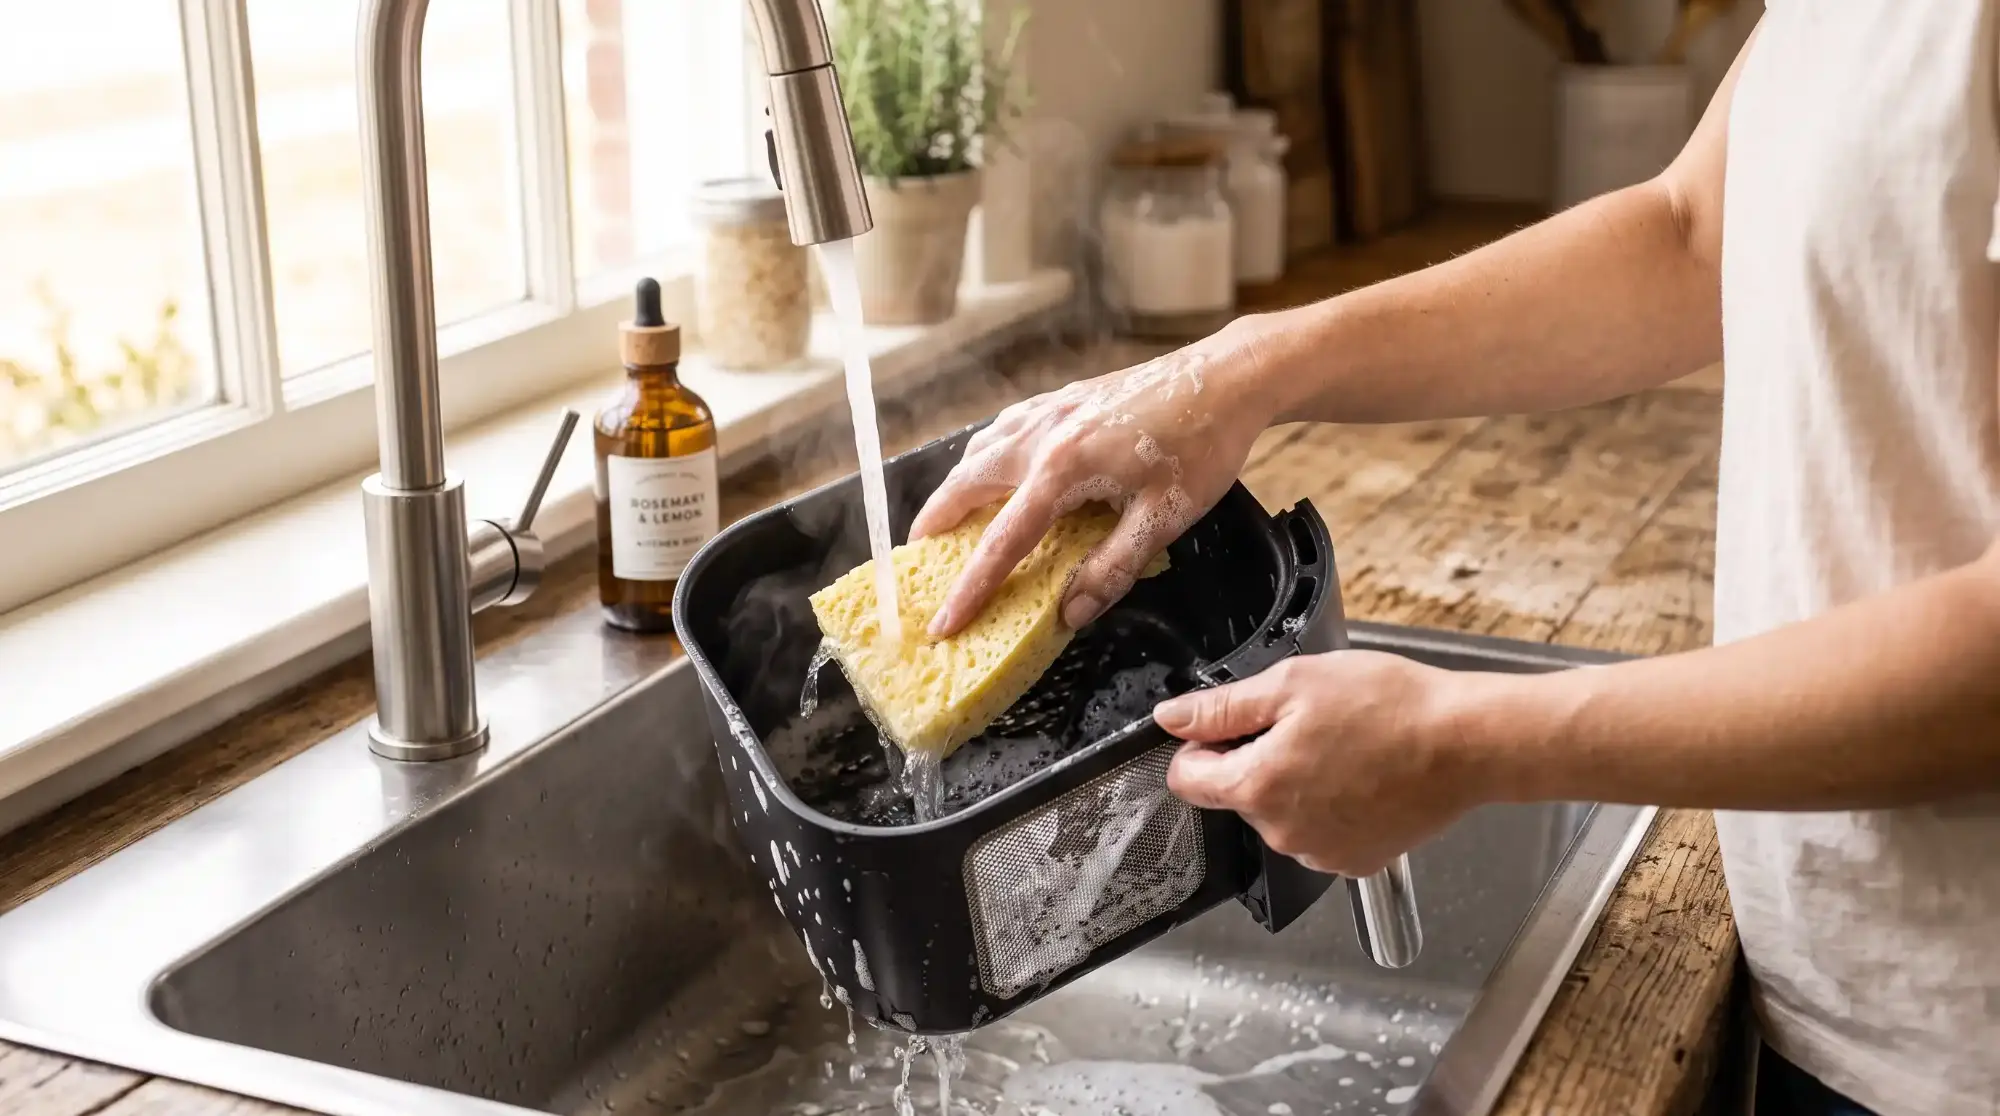
Step 3: Wash with warm soapy water. Use a soft sponge or cloth with warm water and a small amount of dish soap. Wash the basket and tray the same way you would wash a pot. The non-stick coating on most air fryer baskets means food and grease come off easily when the unit is still relatively fresh.
Step 4: Wipe the interior. Use a damp cloth to wipe the inside of the air fryer body. Pay attention to the bottom where grease drips, and the sides where splatters land.
Step 5: Dry everything completely. Dry all parts with a clean towel or let them air dry before reassembling. Putting wet parts back into the air fryer can cause water spots and, over time, affect the non-stick coating.
This five-minute routine after every cooking session will keep your air fryer in excellent condition and reduce the need for aggressive deep cleaning.
How to Deep Clean Your Air Fryer
Even with regular after-use cleaning, your air fryer will benefit from a thorough deep clean every two to four weeks, depending on how often you use it. If you air fry daily, aim for every two weeks. If you use it a few times a week, monthly is fine.
What you will need: - Dish soap - Baking soda - A soft sponge or non-abrasive scrub brush - A clean cloth or paper towels - A small brush or old toothbrush - Warm water
Step 1: Disassemble completely. Remove the basket, tray, any racks, and the drip pan. If your model has a removable bottom panel, take that out too.
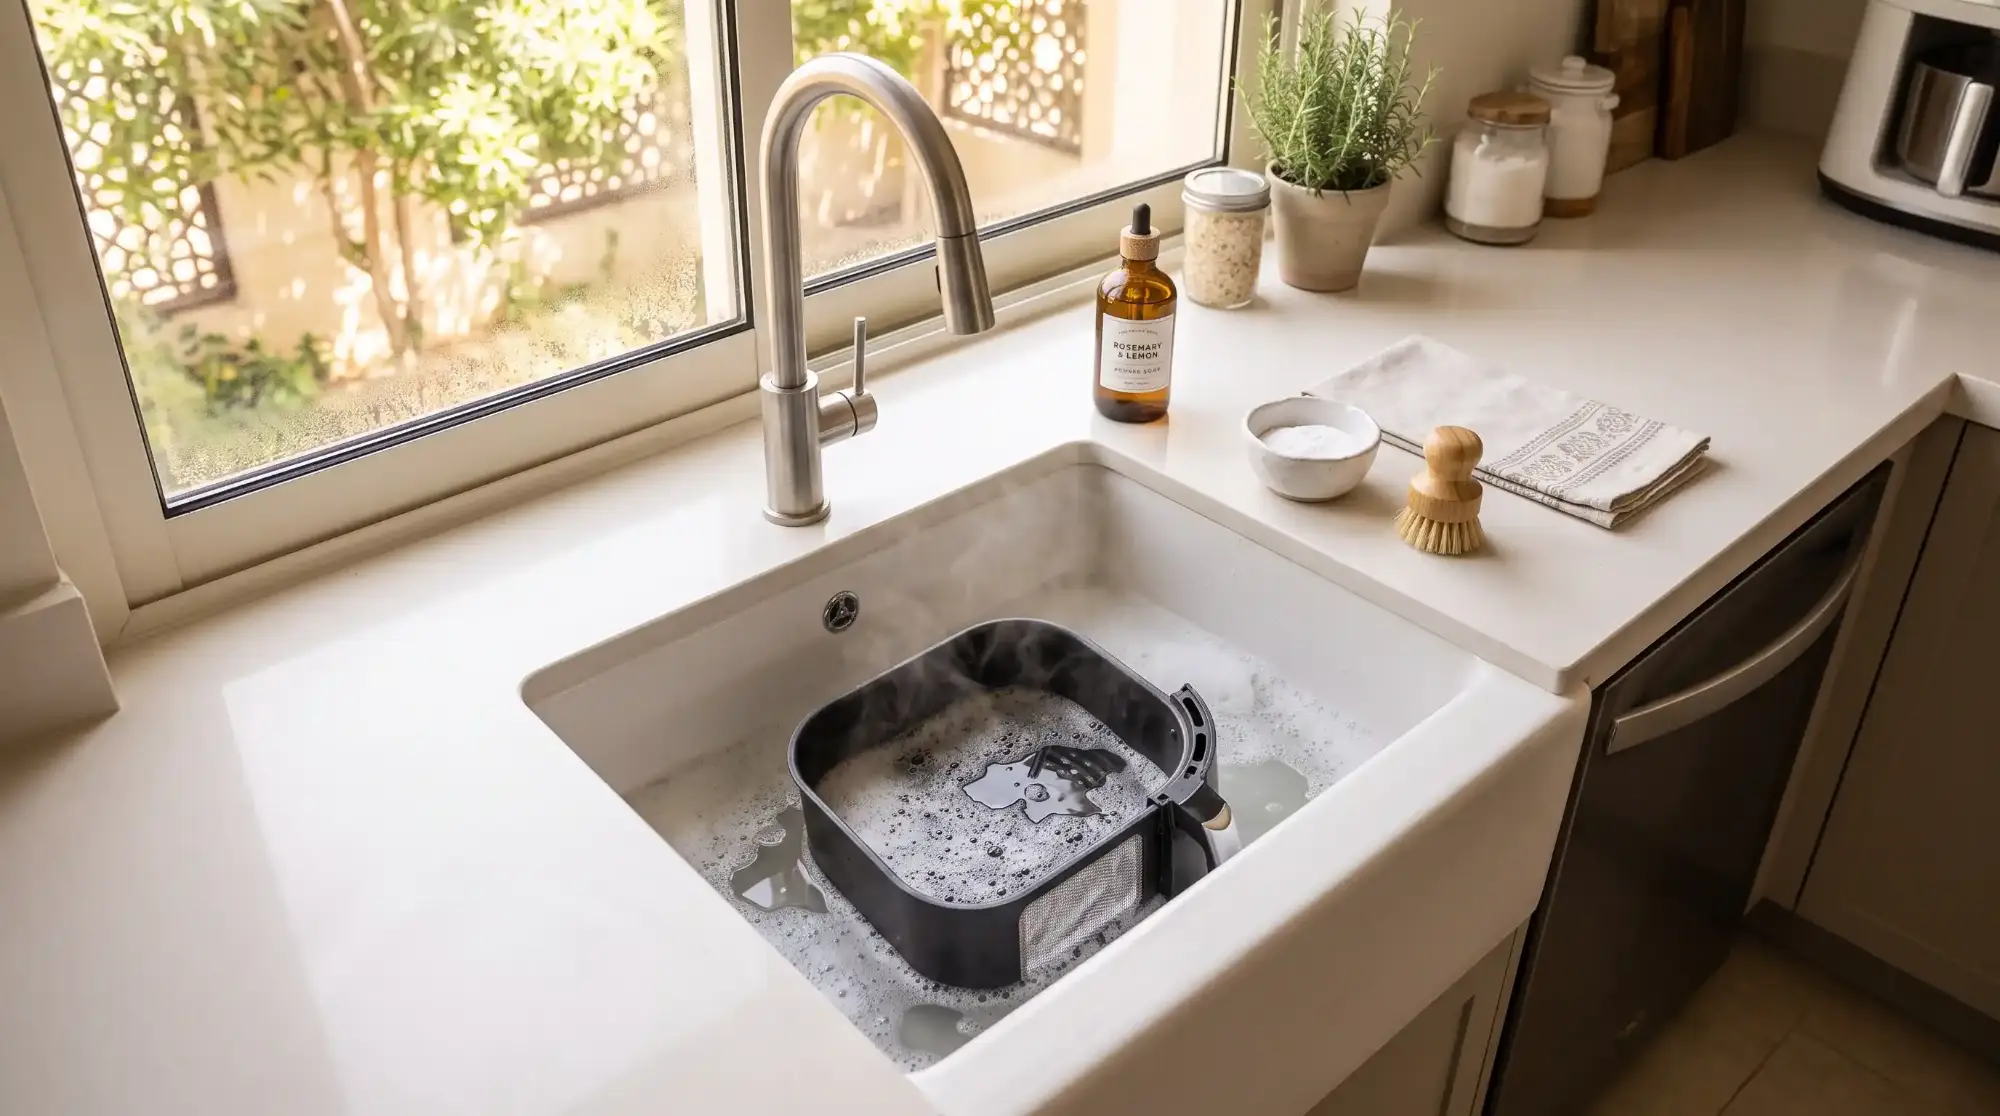
Step 2: Soak the removable parts. Fill your sink with warm water and a generous squirt of dish soap. Place the basket, tray, and any other removable parts in the soapy water and let them soak for 10 to 15 minutes. This loosens any grease that has built up.
Step 3: Scrub the soaked parts. After soaking, use a soft sponge to scrub each piece. For stubborn spots, make a paste of baking soda and water (about 2 tablespoons of baking soda to 1 tablespoon of water) and apply it to the affected areas. Let the paste sit for 5 minutes before scrubbing gently.
Step 4: Clean the interior of the main unit. With the air fryer unplugged and the basket removed, use a damp cloth with a small amount of dish soap to wipe down the entire interior — sides, bottom, and the area around the heating element. Use a small brush or toothbrush to reach into corners and crevices.
Step 5: Check the heating element. Look up at the heating element (it is usually located at the top of the unit). If you see grease or food residue, gently wipe it with a damp cloth. Never use abrasive tools on the heating element.
Step 6: Clean the exterior. Wipe down the outside of the air fryer with a damp cloth. Clean the control panel gently — avoid getting water into buttons or digital displays.
Step 7: Dry and reassemble. Dry every part thoroughly before putting the air fryer back together.
Removing Baked-On Grease
Baked-on grease is the most common cleaning challenge with air fryers, and it is almost always the result of skipping the quick clean after cooking. When grease is heated repeatedly, it polymerizes — essentially turning into a hard, plastic-like coating that does not come off with regular dish soap.
The baking soda paste method: Mix 3 tablespoons of baking soda with 1 tablespoon of water to create a thick paste. Spread it over the greasy areas and leave it for at least 15 to 20 minutes (or up to an hour for severe buildup). The baking soda is mildly abrasive and alkaline, which helps break down polymerized grease without damaging non-stick coatings. Scrub with a soft brush or sponge, then rinse thoroughly.
The hot water soak method: Fill the air fryer basket or drawer with very hot (not boiling) water and a tablespoon of dish soap. Let it sit for 30 minutes to an hour. The hot soapy water will soften the baked-on residue, making it much easier to scrub away. For the main unit where you cannot submerge, place a dish soap-soaked cloth on the greasy areas and let it sit.
The vinegar boost: For particularly stubborn grease, spray white vinegar directly onto the baked-on areas, then sprinkle baking soda on top. The fizzing reaction helps lift grease from the surface. Wait 5 minutes, then scrub and rinse. This combination is effective and completely food-safe.
What not to use: Never use metal scouring pads, steel wool, or abrasive cleaners on your air fryer. These will destroy the non-stick coating on the basket and tray, making future sticking and cleaning problems much worse. Avoid oven cleaner — it is too harsh for the non-stick surfaces and can leave chemical residues that are not safe for food contact.
Cleaning the Basket and Tray
The basket and tray are the parts that take the most abuse, and they deserve some specific attention.
Non-stick baskets: Most air fryer baskets have a non-stick coating. Treat them the way you would treat a non-stick pan — use soft sponges only, avoid metal utensils, and do not stack them with other cookware where the coating could get scratched. If the non-stick coating is starting to peel or flake, it is time to replace the basket. Continuing to cook with a damaged non-stick surface means those flakes end up in your food.
Wire rack baskets: Some air fryer models use a wire rack style basket rather than a solid non-stick one. These are actually easier to clean because food does not stick to them as much, but grease can build up in the wire joints. Use a small brush or toothbrush to get into the joints and intersections of the wires.
Stainless steel baskets: If your air fryer has a stainless steel basket, you have more cleaning flexibility. Stainless steel can handle slightly more abrasive scrubbing (though you should still avoid steel wool). Bar Keeper's Friend or a baking soda paste works well for stainless steel baskets with heavy buildup.
Drip trays: The drip tray or drawer that sits beneath the basket catches grease and food particles. It is easy to forget about because you do not see it during cooking, but it needs cleaning after every use. Trapped grease in the drip tray is what causes smoking during cooking — the grease heats up from below and starts to burn.
Cleaning the Heating Element
The heating element is the most delicate part of your air fryer and the one that people most often neglect. It is located at the top of the cooking chamber in most models, directly above the food.
Grease splatters from cooking gradually coat the heating element. When this grease builds up, it smokes during preheating and can give your food an unpleasant burnt flavor. In extreme cases, accumulated grease on a heating element can ignite.
How to clean it safely:
1. Make sure the air fryer is completely unplugged and fully cooled. 2. Turn the air fryer upside down or tilt it so you can access the heating element from below. 3. Use a damp cloth or a soft brush to gently wipe the element. Do not press hard — the element is fragile. 4. For stuck-on grease, dampen a cloth with warm soapy water, place it against the element, and let it sit for a few minutes to soften the residue. Then gently wipe it away. 5. Never submerge the main unit in water. The electrical components are not waterproof. 6. Let the element dry completely before using the air fryer again.
Clean the heating element at least once a month, or more often if you cook fatty foods regularly.
Can You Put Air Fryer Parts in the Dishwasher?
This is one of the most common questions air fryer owners ask, and the answer depends on your specific model.
Check your manual first. Many air fryer manufacturers label their baskets and trays as dishwasher safe. If your manual says dishwasher safe, you can put the removable parts (basket, tray, drip pan) in the dishwasher.
However, hand washing is better. Even if parts are labeled dishwasher safe, hand washing is gentler on non-stick coatings and will extend the life of your basket and tray. The harsh detergents and high temperatures in a dishwasher gradually degrade non-stick coatings, leading to sticking problems and eventual peeling. If you want your air fryer basket to last, hand wash it.
What should never go in the dishwasher: - The main unit (the body of the air fryer with the heating element and electronics) - Any part with electrical connections - Parts with rubber seals or gaskets (the heat can warp them)
If you do use the dishwasher: Place baskets and trays on the top rack, use a gentle cycle, and skip the heated dry setting. Let parts air dry instead.
Cleaning with Baking Soda and Vinegar
Baking soda and vinegar are the two most effective natural cleaners for air fryers, and you probably already have both in your kitchen.
Baking soda is mildly abrasive and alkaline. It cuts through grease, neutralizes odors, and is gentle enough for non-stick surfaces. It works best as a paste applied directly to greasy areas.
White vinegar is acidic and excellent at dissolving mineral deposits and cutting through grease films. It also deodorizes effectively.
Combined cleaning method for a full deep clean:
1. Remove all parts from the air fryer. 2. Spray the basket, tray, and interior surfaces with undiluted white vinegar. 3. Sprinkle baking soda generously over the vinegar-sprayed surfaces. 4. Let the fizzing reaction work for 5 to 10 minutes. 5. Scrub with a soft sponge, then rinse thoroughly with warm water. 6. Dry completely before reassembling.
Lemon alternative: You can also use lemon juice in place of vinegar. Cut a lemon in half, dip it in baking soda, and use it to scrub the basket. The lemon adds a fresh scent and the citric acid helps dissolve grease. This works particularly well for deodorizing an air fryer that has taken on the smell of previously cooked food.
Steam cleaning trick: Fill the air fryer basket or an oven-safe dish with water, a tablespoon of lemon juice, and a tablespoon of vinegar. Run the air fryer at 180°C (350°F) for 3 to 5 minutes. The steam loosens grease on the interior walls and heating element, making it easy to wipe down afterward.
Air Fryer Maintenance Tips
Keeping your air fryer clean is part of a broader maintenance routine that will keep it working well for years.
Use parchment liners or silicone mats. Placing a perforated parchment liner or a silicone mat in the basket before cooking dramatically reduces cleanup. The liner catches grease and prevents food from sticking directly to the basket. Make sure to use liners with holes so air can still circulate — solid liners block airflow and defeat the purpose of air frying.
Do not overcrowd the basket. Overcrowding causes more splattering and uneven cooking, both of which mean a messier air fryer. Give food space and you will have less cleanup.
Line the drip tray. Placing a small piece of aluminum foil or a paper towel (for non-convection models) in the drip tray catches grease before it bakes on. Replace it after each use for almost zero cleanup on the tray.
Wipe the exterior regularly. Kitchen grease and dust settle on the outside of the air fryer. A weekly wipe with a damp cloth keeps it looking and functioning well. Pay attention to the air intake and exhaust vents — blocked vents reduce airflow and efficiency.
Store it properly. If you do not use your air fryer daily, store it in a clean, dry place with the basket and tray inside. If you keep it on the countertop, leave a small gap between the air fryer and the wall to ensure the exhaust vent is not blocked.
Replace worn parts. Non-stick coatings do not last forever. If your basket coating is peeling or the non-stick performance has degraded significantly, order a replacement basket from the manufacturer. Cooking with a damaged non-stick surface is not safe.
Common Cleaning Mistakes to Avoid
Using metal utensils or abrasive pads. This is the number one cause of premature basket failure. Steel wool, metal scouring pads, and metal spatulas all scratch and damage non-stick coatings. Once the coating is compromised, food sticks more, which leads to more aggressive scrubbing, which damages the coating further — a destructive cycle.
Using oven cleaner or harsh chemicals. Oven cleaners contain sodium hydroxide (lye), which is far too aggressive for air fryer surfaces. It can strip non-stick coatings and leave residues that are not safe for food contact. Stick to dish soap, baking soda, and vinegar.
Submerging the main unit. The body of the air fryer contains electrical components, a motor, and a heating element. Submerging it in water will damage these components and create a serious safety hazard. Only removable parts should be submerged.
Cleaning while hot. While warm is fine, cleaning a very hot air fryer risks burns and can cause thermal shock to non-stick coatings (especially if you run cold water over a hot basket). Let it cool for 15 to 20 minutes first.
Ignoring the heating element. Out of sight, out of mind — but a greasy heating element is the main cause of smoking and off-flavors. Make it part of your regular cleaning routine.
Not drying parts completely. Water trapped in crevices can cause water spots on non-stick surfaces and, in rare cases, promote corrosion on metal parts. Always dry thoroughly before reassembling.
Frequently Asked Questions
How often should I clean my air fryer? Wipe the basket and tray with warm soapy water after every use. Do a thorough deep clean every two to four weeks, depending on how frequently you cook with it. The heating element should be checked and cleaned at least once a month.
Can I use oven cleaner on my air fryer? No. Oven cleaners are too harsh for air fryer surfaces. They can damage non-stick coatings and leave chemical residues. Use dish soap, baking soda, or vinegar instead.
Why does my air fryer smoke when I turn it on? Smoking is almost always caused by old grease buildup — either on the drip tray, the basket, or the heating element. Give the air fryer a deep clean, paying special attention to the heating element and the drip tray. If it still smokes after a thorough cleaning, make sure you are not cooking at excessively high temperatures with fatty foods.
Is it safe to put water inside my air fryer to clean it? You can put water in the removable basket or use the steam cleaning method described above. However, you should never pour water directly into the main unit where the electrical components are located.
What is the best way to remove sticky residue from the basket? Soak the basket in warm soapy water for 15 to 30 minutes, then apply a baking soda paste to the sticky areas. Let the paste sit for 10 minutes, then scrub with a soft sponge. For extremely stubborn residue, the vinegar and baking soda combination works well.
My air fryer smells like previously cooked food. How do I deodorize it? Wash all removable parts with warm soapy water. Then place a small oven-safe dish of lemon juice and vinegar in the basket and run the air fryer at 180°C for 3 to 5 minutes. The acidic steam neutralizes lingering odors. Baking soda left in the basket overnight also absorbs odors effectively.